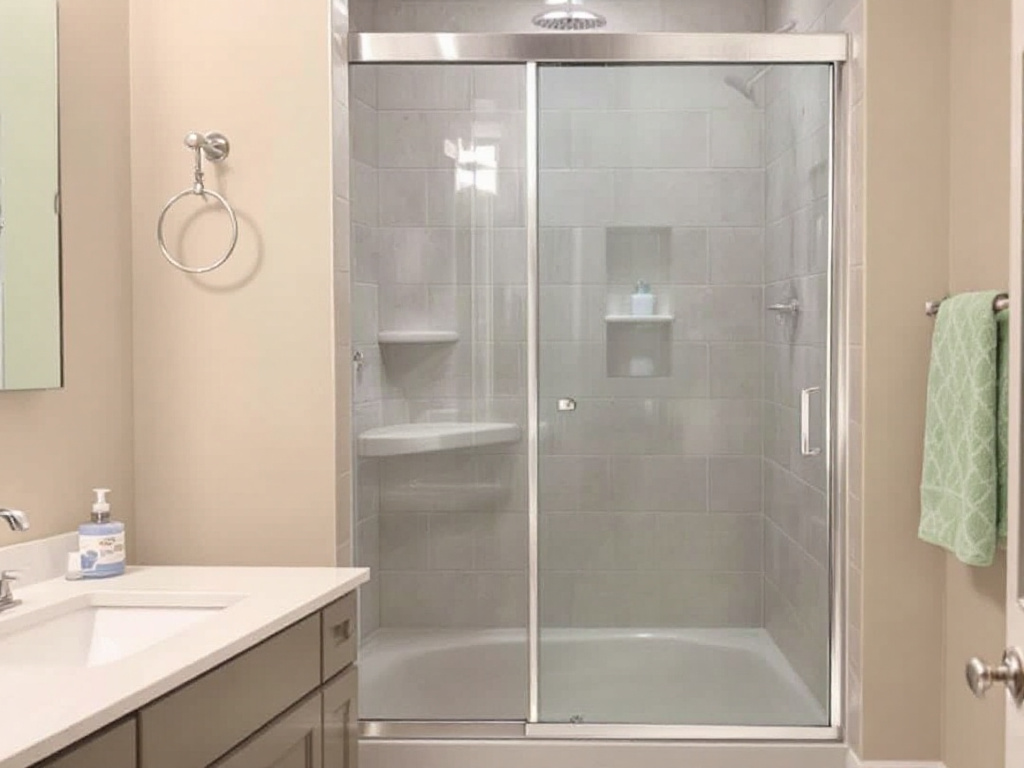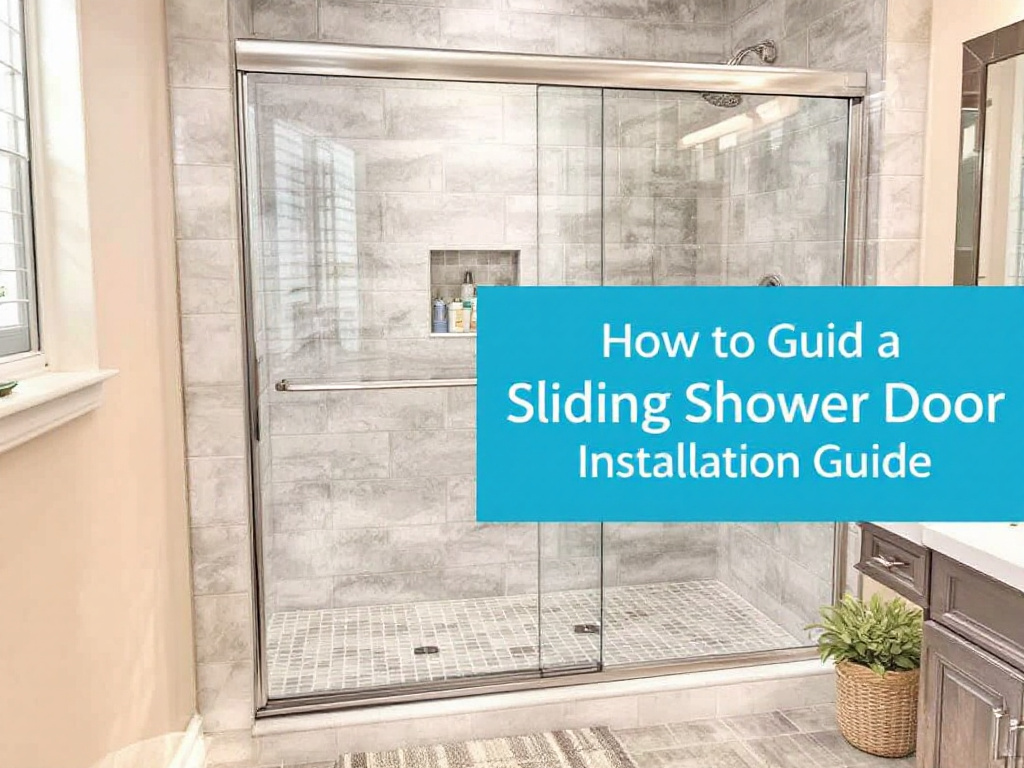
When you’re remodeling or simply refreshing your bathroom, one of the main features that can dramatically alter the visual appeal and functionality is your shower door. Whereas a traditional shower curtain might get the job done, a uniquely designed and high-quality sliding shower door can work wonders in terms of style, hygiene, and maintenance. If you’re in the Boston area, you can rely on our expert services at Glass Shower Doors Installation in Boston for all things related to your shower facility, including the trending sliding shower door installation.
Why Choose Sliding Shower Doors?
Before delving into the installation guide, let’s explore why sliding shower doors are all the rage these days. Apart from boosting the aesthetic appeal of your bathroom, these doors are space-saving – an attribute especially beneficial for smaller bathrooms. They are also durable, easy to maintain, and offer better protection against water leaks than a conventional curtain.
The DIY Guide to Sliding Shower Door Installation
Step 1: Gather your tools
An important first step in the sliding shower door installation process is preparing all necessary materials and tools. This might include your sliding shower door kit, which normally incorporates the door, hardware, and guide rails. You will need a tape measure, pencil, drill, screwdriver, level, and possibly silicone sealants and caulk.
Step 2: Measure and mark your space
Accurate measurements are critical in ensuring a smooth installation. Measure the width at both the top and bottom of your shower area and mark the center points. This will allow for correct placement of your new door.
Step 3: Install the bottom track
The bottom track of your sliding shower door should be placed first. Align it using your previously marked center points. Use clear silicone sealant for secure positioning.
Step 4: Put up the side jambs
Next, install the side jambs, which help guide the sliding doors on the track. The side jambs should fit snugly into the bottom track. Use a level for precision and affix it with screws.
Step 5: Insert the top track
The top track is what allows your sliding shower door to move effortlessly. Fit it onto the side jambs and make sure that it is level.
Step 6: Install the doors
Finally, the most rewarding step is installing the doors. Typically, the inside door should be installed first. Follow the manufacturer’s instructions closely.
Although a DIY approach can be gratifying, having professionals handle your sliding shower door installation can save time, eliminate errors, and ensure an impeccable finish. That’s where our professionals at Glass Shower Doors Installation in Boston come into the picture.
Professional Sliding Shower Door Installation Services in Boston
If you’re seeking an exceptional sliding shower door installation, our team at Glass Shower Doors Installation in Boston is equipped and ready. Our expert installers have the technical know-how and experience to handle any type of shower door installation. We guide you at every step, from selecting the best sliding shower door that matches your taste and budget, to installing it impeccably in your home. Transform your bathroom into a design marvel by entrusting us with your shower door installation needs!
Tags: #SlidingShowerDoorInstallation #BathroomRemodeling #GlassShowerDoorsBoston
The Step-by-Step Guide to Sliding Shower Door Installation


